Malidee für kleine Leinwände. 7 Mini DIYs mit Malerei
22. Februar 2018
Ostereier bemalen: 9 Dekoideen zum Selbermachen.
1. März 2018Sternzeichen-Bilder mit Beleuchtung selber machen.
[shariff] DIY Tutorial: Make your own zodiac sign paintings. THE perfect birthday present.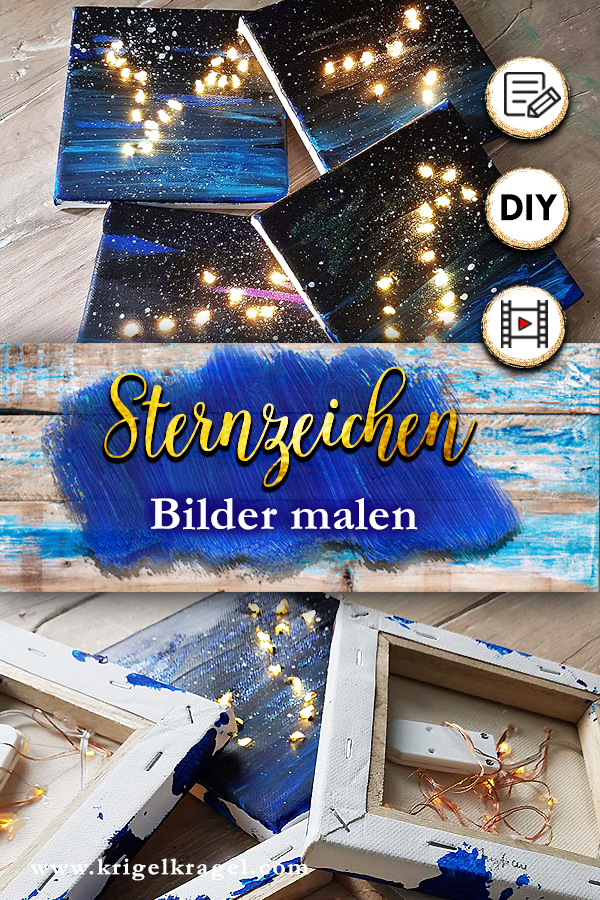
Achtung! Achtung! Es folgt eine Anleitung für ein graaaandioses Geschenk, dass du auch noch selber machen kannst!
Denn das eigene Sternzeichen mag doch jeder – daher ist dessen Illustration auf Leinwand eine geniale Geschenkidee mit der man wirklich nichts falsch machen kann! Selbst die Umsetzung in ein leuchtendes Bild ist viel einfacher als man denkt! Los geht’s!
Tipp: Für Bastler die gerne malen und Geschenke selbermachen, habe ich meine Anleitung für ein Puzzle aus Holzwürfeln mit 6 Gestaltungs-Ideen.
Attention! Attention! Now I present to you a tutorial for a peeerfect gift which you can even do on your own!
Because everybody likes their own zodiac sign – therefore is the illustration on canvas a brilliant idea for a gift with which you can do practically nothing wrong! Even the execution into a glowing painting is much easier than you might think! Let‘s go!
Du brauchst: Eine kleine Leinwand LED-Lichterkette mit Batterieschalter Heißklebepistole Schere Pinsel Alte Zahnbürste Acrylfarben in vers. Blautönen, Schwarz und Weiß Küchentücher Dauer: max. 3 Stunden (ohne Trocknungszeit) Schwierigkeitsgrad: mittel
You‘ll need: a small canvas LED chain of lights with battery switch hot glue gun pair of scissors brush old toothbrush acrylic paint in various shades of blue, black and white kitchen towels Duration: max. 3 hours (without drying time) level of difficulty: medium
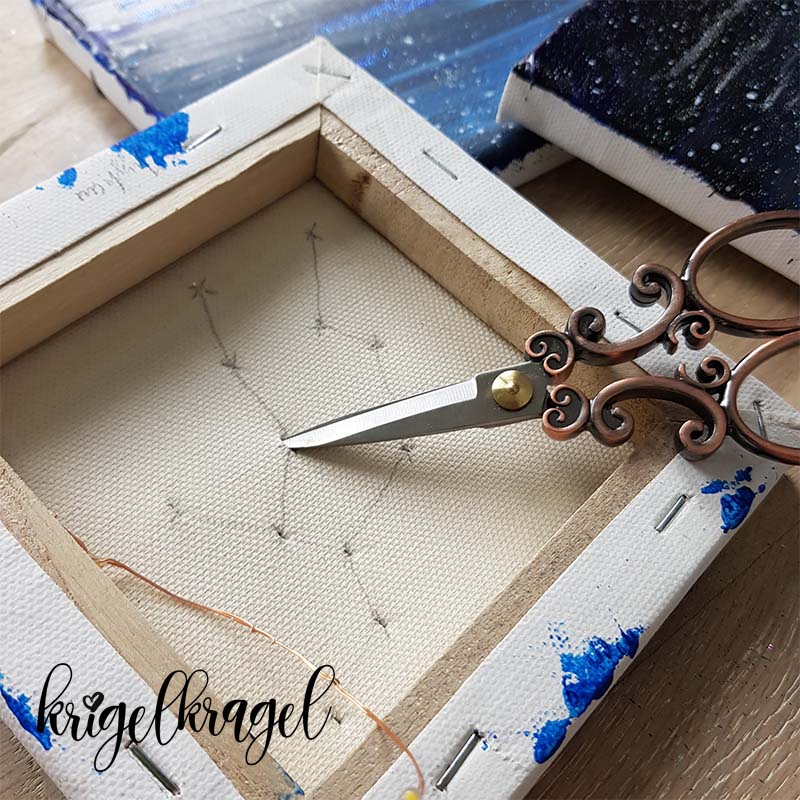
DIY: das Sternenbild deines Sternzeichens vorzeichnen
1. Suche dir im Wen eine Abbildung der Sternenkonstellation deines gewünschten Sternzeichens. Über die Google-Bildersuche ist das super einfach. Mach ein Screenshot davon und spiegele es in einer Bildbearbeitungs-App.
2. Wichtig! Das Sternenbild muss SPIEGELVERKEHRT sein. Denn du überträgst nun mit Bleistift das ungefähre Schema auf die RÜCKSEITE der Leinwand.
DIY: sketching the sign of the zodiac
1. Look in the internet after a suitable illustration of your desired sign of the zodiac. With the use of google images it‘s super easy to find. Make a screenshot of it and flip it horizontal with an image editing app.
2. Important! The sign needs to be BACK-TO-FRONT. Because now you transfer the rough scheme with a pencil on the BACKSIDE of the canvas.
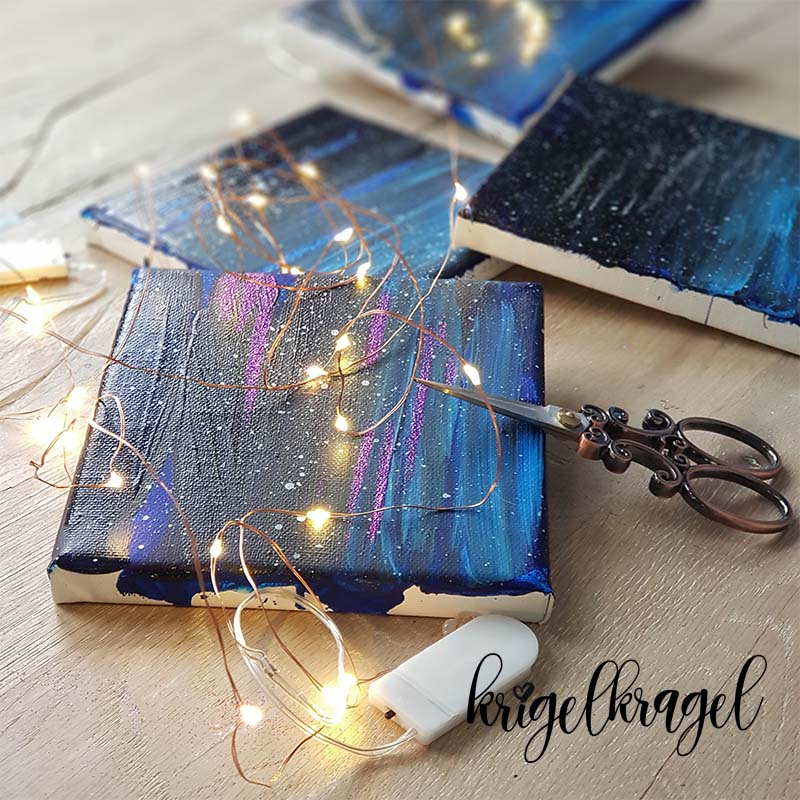
DIY: LED-Lichterkette kürzen
3. Im Batteriefach darf KEINE Knopfzelle sein! Nimm sie vor den nächsten Schritten heraus!
4. Zähle die LED auf Anzahl der Sterne in deinem Sternenbild ab und trenne die Kupferkabel hinter dem letzten in der Mitte zum nächsten LED.
5. Verzwierbel das Ende so dass die beiden Kabel guten Kontakt zueinander haben. Schließlich brauchen wir einen geschlossenen Stromkreislauf.
6. Versiegele das Ende mit einem Tropfen Heißkleber so, dass kein Stückchen Draht aus dem Tropfen herausguckt.
DIY: Shorten the LED chain of lights
3. Inside the battery compartment must not be a button cell! Take it outside before moving on to the next steps!
4. Count the LEDs with regard to the number of stars in your sign and cut the copper cables in the middle behind the last needed LED and in front of the next one.
5. Twist the ending in such a way that the two cables have sufficient contact to one another. Because in the end we want to have a closed circuit.
6. Seal the end with a drop of hot glue in such a way, that every part of the wire is concealed by the glue.
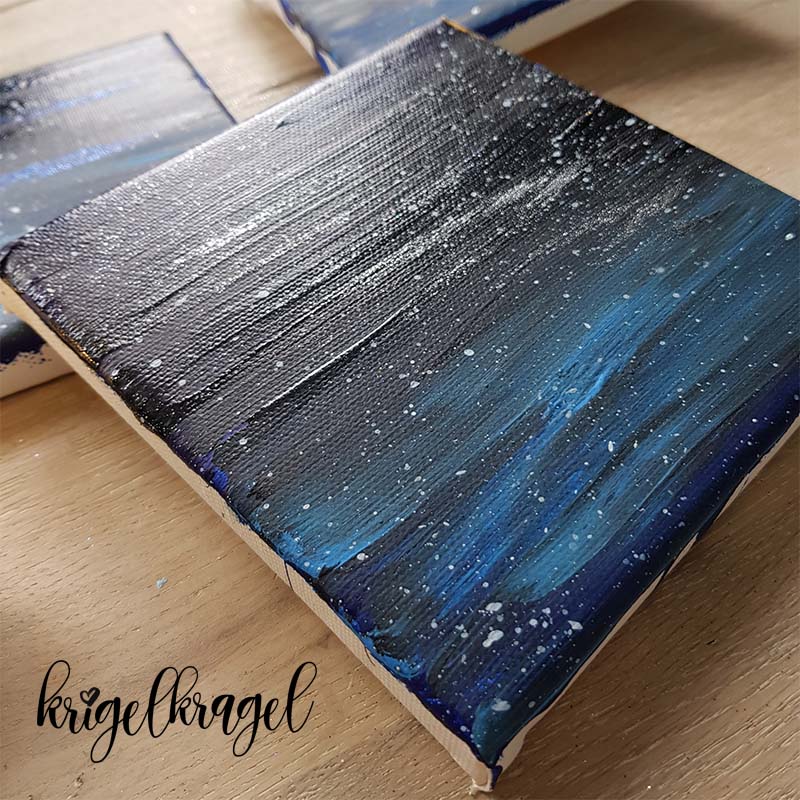
DIY: Nachthimmel mit Acrylfarben malen
7. Fang einfach damit an den mittleren Blauton grob auf der Leinwand zu verteilen.
8. In der oberen Hälfte trägst du nun das dunkle Blau auf und am unteren Rand das helle Blau.
9. Mische im oberen Bereich vorsichtig schwarz dazu. Wische es in das Blau.
10. Wichtig ist, dass im unteren Bereich die Leinwand heller bleibt. Nicht nur weil der Nachthimmel dort noch nicht ganz dunkel ist, sondern auch um später eine Orientierung zu haben, wie rum dein Sternenbild überhaupt „richtig“ ist. Das ist nämlich nicht bei allen logisch zu erschließen.
11. Wenn du mit dem Verlauf der Farben zufrieden bist, spritzt du mit Hilfe einer Zahnbürste und weißer Acrylfarbe Sterne in den dunklen Nachthimmel.
12. Gut durchtrocknen lassen.
DIY: Paint the night sky with acrylic paint
7. Start with spreading the medial shade of blue roughly on the canvas.
8. Apply the darker shade of blue in the upper half and the brighter one in the lower half.
9. Carefully blend in black acrylic in the top half into the blue.
10. It‘s important for the lower half to stay bright. Not only because the sky isn‘t yet as dark in that area but it‘s also going to provide some orientation to recognize where the bottom of the painting will be. It‘s not automatically a clear case in some of the signs.
11. When you‘re pleased with the flow of the colours, spray with the help of a toothbrush and white acrylic stars into the dark night sky.
12. Let it dry sufficiently.
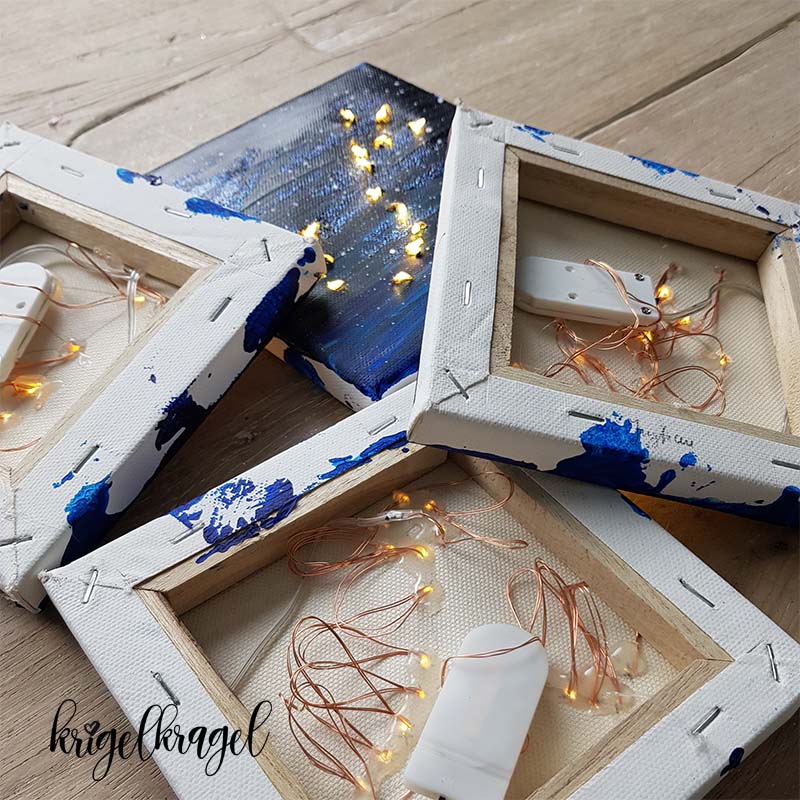
DIY: deine grobe Malerei beleuchten
13. Auf der Rückseite deines Mini-Gemäldes stichst du nun mit einer spitzen Schere Löcher an der Position der Sterne in die Leinwand.
14. Die LEDs deiner Lichterkette steckst du nun nach und nach an die Position der Sterne. Das ist ein bisschen Gefriemel, aber es lohnt sich! Fixiere jedes LED mit einem Tropfen Heißkleber.
15. Den Stecker kannst du mit einem Stück Klebeband fixieren. Besser nicht mit Kleber, denn die Batterien sollen ja einfach zu wechseln sein.
16. Die Knopfzellen kannst du nun zurück in den Schalter stecken und dein Sternzeichen einschalten!
DIY: Illuminate your rough painting
13. Now pierce holes with a sharp pair of scissors into the backside of your mini painting where the stars are positioned.
14. Put the LEDs one by one into the holes. It‘s somewhat of a fumbling but it‘s worth the effort! Fixate every LED with a drop of hot glue.
15. Better use tape instead of glue to fixate the plug because the batteries ought to be easy to change.
16. Put the button cells back into the compartment and let the sign painting shine!
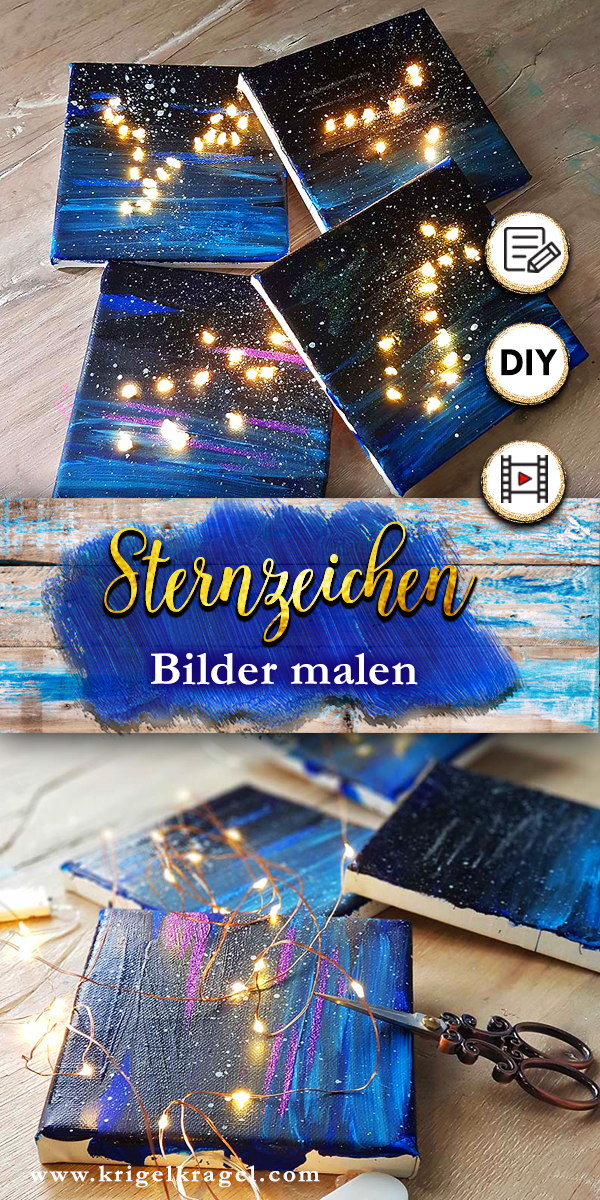
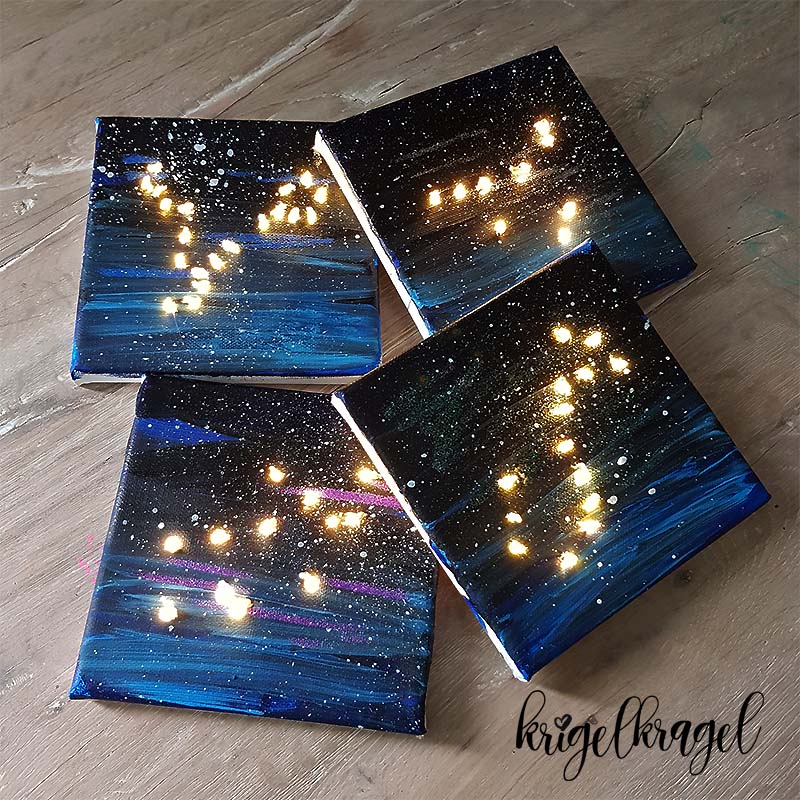
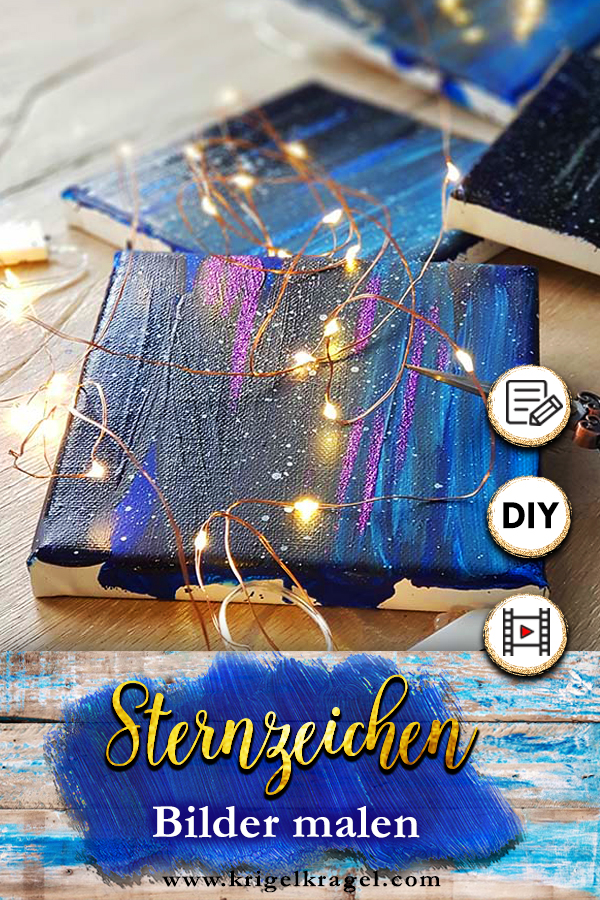
Das Ergebnis ist so, so schön! Am besten du machst es wie ich und fertigst gleich mehrere Sternzeichen an. Das lohnt sich bei grober Malerei total. So kannst du all deine Freunde als Sternzeichen abbilden, oder all deine Familienmitglieder.
Eine geniale Geschenkidee, oder? Einfach die perfekte Deko!
Ich freue mich dein Sternzeichen unter dem Hashtag #krigelkragel auf Instagram leuchten zu sehen!
Bis nächste Woche – eure Desiree Ann
The result is so beautiful! Best you do it as I did and make several paintings right away. It‘s always worthwhile when doing coarse paintings. That way you can make the signs of all your friends and family members.
It‘s a brilliant idea, don‘t you think? Simply the perfect deco!
I‘m looking forward to take a look at your illuminated zodiac signs under the hashtag #krigelkragel!
See you next week – your Desiree Ann
