Stempeltechnik: echte Federn drucken
10. Juli 2018
Artjournal gestalten – wie du dein Tagebuch malerisch gestaltest.
9. September 2018Malerei Tutorial: einfache Blätter und Zweige mit Tinte und Aquarell
[shariff]
[vc_row][vc_column][vc_column_text]
Paint tutorial: simple leaves and branches with ink and watercolour
[/vc_column_text][/vc_column][/vc_row][vc_row][vc_column][vc_column_text]
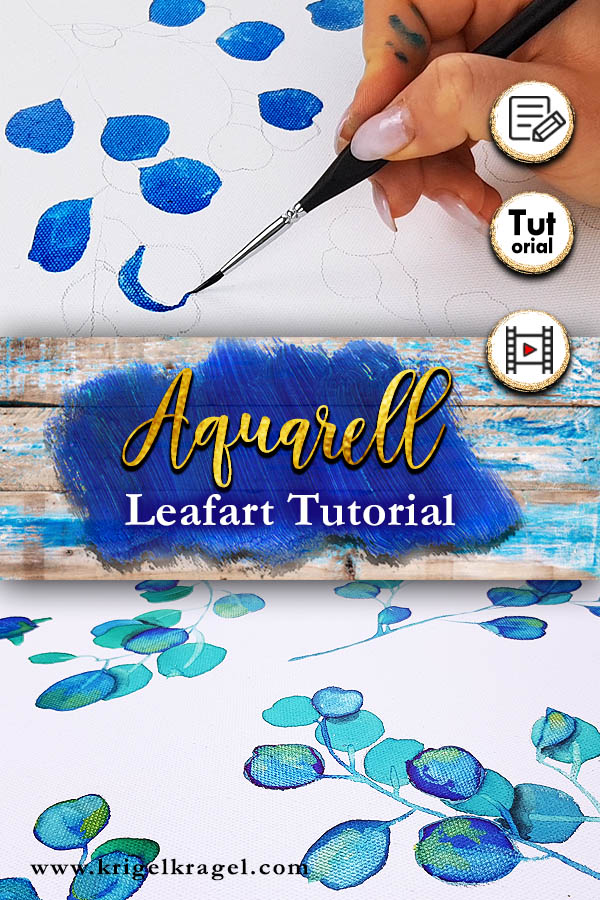 [/vc_column_text][/vc_column][/vc_row][vc_row][vc_column][vc_separator][/vc_column][/vc_row][vc_row][vc_column][vc_column_text]Mit ganz einfachen Strichen und simplen Formen, lassen sich schnell hübsche Äste zeichnen die man so schön kolorieren kann!
Hier zeige ich dir wie du mit Tinte und Aquarell auf Leinwand ganz einfach ein kleines Eukalyptus-Artwork malen kannst. (Wenn du noch Schwierigkeiten beim Zeichnen hast: Am Ende findest du ein paar Vorlagen von mir für dich, die du als Freebie für dich nutzen kannst.) Da ich nun seit längerem die Idee habe ein paar meiner Leinwandbilder als Lampenschirm umzusetzen, habe ich mit der wunderbaren Filiz von Filizity zusammengearbeitet. Im Laufe des Beitrags erfährst du mehr!
Du willst noch mehr florale Malanleitungen? In einem anderen Blogpost zeige ich dir wie man mit Aquarell einen wünderschönen Blätterkranz mit Aquarellfarben malt.
[/vc_column_text][/vc_column][/vc_row][vc_row][vc_column][vc_tta_tabs][vc_tta_section title=“english translation“ tab_id=“1532471832019-c815fb28-3ff4″][/vc_tta_section][vc_tta_section title=“click here“ tab_id=“1532471832040-bed11b6a-cf67″][vc_column_text]With very simple strokes and simple shapes, you can quickly draw pretty branches that you can colour beautifully! Here I show you how to paint a small eucalyptus artwork with ink and watercolour on canvas. (If you still have difficulty drawing: At the end you will find some templates from me that you can use as freebies.) Since I have the idea to implement some of my canvas pictures as a lampshade fro quitw some time now, I have worked together with The wonderful Filiz of Filizity. In the course of the article you will learn more![/vc_column_text][/vc_tta_section][/vc_tta_tabs][/vc_column][/vc_row][vc_row][vc_column][vc_separator][/vc_column][/vc_row][vc_row][vc_column][vc_column_text]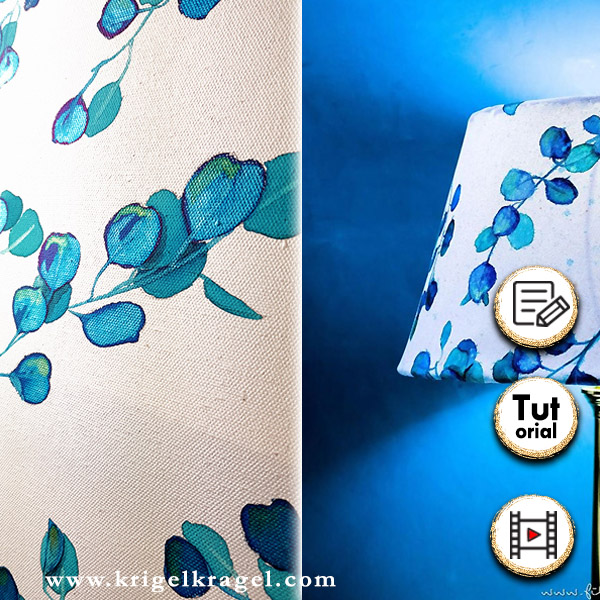 [/vc_column_text][/vc_column][/vc_row][vc_row][vc_column][vc_column_text]Doch zuerst braucht es eine bemalte Leinwand. Wie ich diese Illustrationen angelegt habe, zeige ich dir im folgenden Video und kurz gefasst hier nieder geschrieben. Los geht’s.[/vc_column_text][/vc_column][/vc_row][vc_row][vc_column][vc_tta_tabs][vc_tta_section title=“english translation“ tab_id=“1532471943114-676edbc1-8706″][/vc_tta_section][vc_tta_section title=“click here“ tab_id=“1532471943153-94adedf1-4a50″][vc_column_text]But first it takes a painted canvas. How I created these illustrations, I’ll show you in the following video and have it written down briefly here. Here we go.[/vc_column_text][/vc_tta_section][/vc_tta_tabs][/vc_column][/vc_row][vc_row][vc_column][vc_column_text]Videotutorial:[/vc_column_text][/vc_column][/vc_row][vc_row][vc_column][vc_video link=“https://youtu.be/Kz19LXuNWZ8″][/vc_column][/vc_row][vc_row][vc_column][vc_column_text]Du brauchst:
Eine Leinwand die nach Möglichkeit nicht mit Gesso behandelt ist. Schätze zuvor ein großzügiges Format ab, auf dem du ausreichend Platzt für die Lampenschirm-Bögen hast.
Tinte aus dem Fässchen in Blau oder besser Türkis (das sind meine*)
Aquarellfarben mit Perlmutt-Schimmer (das sind meine*)
Pinsel, Wasser, Palette, Küchentuch, einen harten Bleistift
*Die Links sind Affiliate-Links. Ihr könnt mich unterstützen, wenn ihr darüber einkauft – ich erhalte dann eine Provision von amazon. Es entstehen euch keine Mehrkosten. Wenn ihr das nicht möchtet, sucht selbst über die Suchmaske beim Anbieter eurer Wahl.
[/vc_column_text][/vc_column][/vc_row][vc_row][vc_column][vc_tta_tabs][vc_tta_section title=“english translation“ tab_id=“1532471721047-396590bb-0a3c“][/vc_tta_section][vc_tta_section title=“click here“ tab_id=“1532471721078-bffe4686-785e“][vc_column_text]You need:
A canvas that is not treated with Gesso, if possible. Before that, estimate a generous size on which you have enough space for the lampshade bows.
Ink from the keg in blue or even better turquoise
Watercolour paints with mother-of-pearl shimmer
Brush, water, palette, kitchen towel, a hard pencil[/vc_column_text][/vc_tta_section][/vc_tta_tabs][/vc_column][/vc_row][vc_row][vc_column][vc_column_text]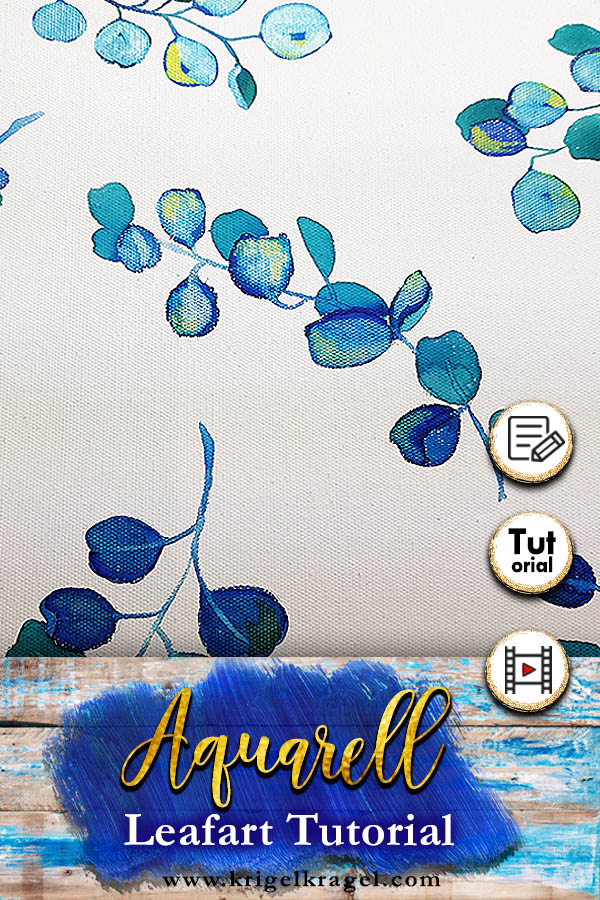 [/vc_column_text][/vc_column][/vc_row][vc_row][vc_column][vc_column_text]Anleitung:
- Wähle eine große Leinwand aus. Übertreibe hier lieber, denn wenn später die Bögen nicht aufs Format passen wirst du fluchen. J Am besten ist es für die Tinte, wenn die Leinwand nicht mit Gesso behandelt wurde. Sie saugt die Farbe besser auf.
- Zeichne mit einem sehr harten Bleistift die Äste auf. Dabei ist es wichtig eine chaotische Struktur anzulegen, damit das Artwork auf dem späteren Lampenschirm gut aussieht. Also zeichne Richtungen, Anfänge und Enden immer unterschiedlich zu den benachbarten Ästen. Geplantes Chaos ist hier wichtig!
- Die vordersten Blättchen einfach mit blauer Tinte ausmalen. Gern eine zweite Schicht für einen kräftigen Ton.
- Die dahinter liegenden mit einem grüneren Blauton der Tinte ausmalen. Am besten nur eine Schicht für eine leichte Tönung. Tinte lässt sich durch Mischen mit Aquarellfarben leicht abwandeln.
- Für den Schimmer der vorderen Blättchen malst du nun die Perlmutt-Aquarellfarbe in ausgesuchte Ecken der Blätter. Da sich Tinte leicht anlösen lässt, werden sich die Farben vermischen und es gibt einen schönen silbrigen Effekt. Diesen habe ich gewählt, damit die spätere Lampe auch bei Tageslicht etwas Besonderes hat und beim Vorbeigehen den Blick einfängt.
- Um die Blätter nun mittels Ästchen zu verbinden, nimmst du nur einen nassen Pinsel. Ohne Farbe! Löse in der Mitte der Blätter die Blattader an und wische sie in Richtung der AstLinie. So erreichst du feine, filigrane Linien – die nicht plump wirken.
- Im nächsten Schritt habe ich das Artwork mit Wasser aus der Sprühflasche besprenkelt und mit einer Zahnbürste schimmrige Sprenkeln darüber gegeben. Das bricht die zu cleane Anmutung auf.
- Einen Lampenschirm daraus bauen!
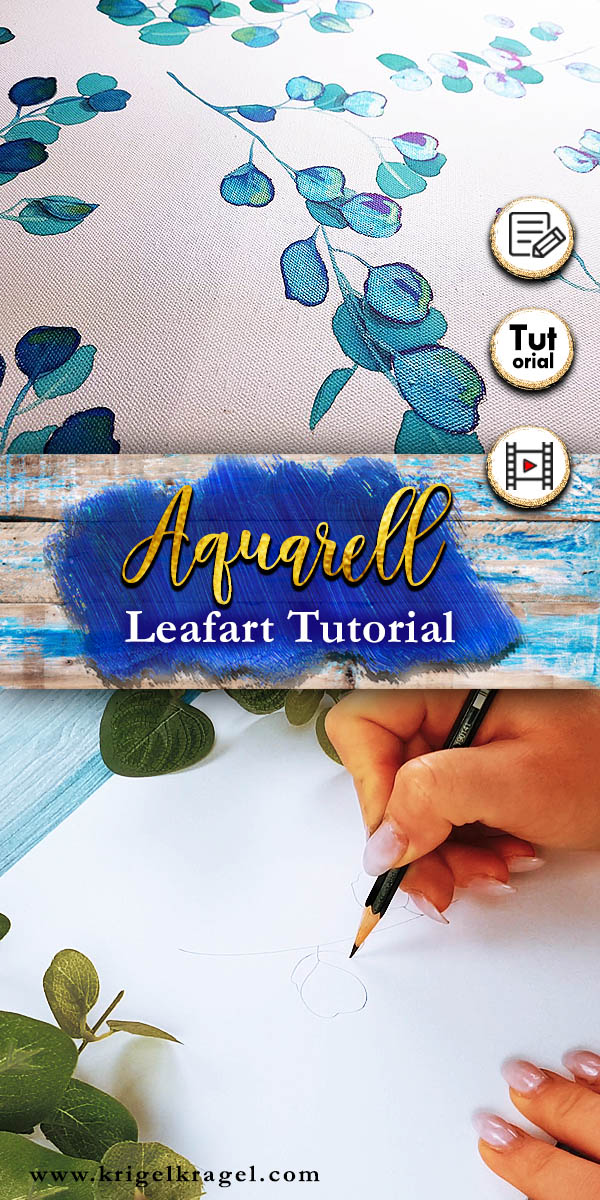
Hier habe ich noch ein paar Ast-Zeichnungen für dich, die du zu privaten Zwecken nutzen kannst. Du kannst an ihnen üben oder sie durchpausen, um gleich zu kolorieren.[/vc_column_text][/vc_column][/vc_row][vc_row][vc_column][vc_tta_tabs][vc_tta_section title=“english translation“ tab_id=“1532472218861-185c0086-b179″][/vc_tta_section][vc_tta_section title=“click here“ tab_id=“1532472218911-71aa63d7-de80″][vc_column_text]Manual:
- Select a large canvas. Better to overestimate, because if later the bows do not fit the format, you wont be happy at all. It is best for the ink, if the canvas has not been treated with Gesso. It absorbs the color better.
- Draw the branches with a very hard pencil. It is important to create a chaotic structure, so that the artwork looks nicely on the lampshade later. So draw directions, beginnings and ends always differently to the neighboring branches. Planned chaos is important here!
- Simply paint the frontmost leaflets with blue ink. Gladly also with a second layer for a strong tone.
- Paint the background with a greener blue tone of the ink. Better only one layer for a light tint. Ink can be easily modified by blending with watercolours.
- For the shimmer of the front leaflets, paint the mother-of-pearl watercolour into selected corners of the leaves. As ink dissolves easily, the colors will blend and give a nice silvery effect. This I have chosen, so that the later lamp has something special even in daylight and captures the view when passing by.
- To connect the leaves with twigs, just take a wet brush. Without colours! In the middle of the leaves pick up the leaf vein and wipe it in the direction of the branch line. So you achieve fine, filigree lines – which do not look clumsy.
- In the next step, I sprinkled the artwork with water from the spray bottle and used a toothbrush to add shimmering speckles. This loosens up the otherwise too clean appearance.
- Build a lampshade out of it!
Ok, point 8 is a bit inaccurate. If you want to know how to make this wonderful and beautiful lamp, then go visit Filizity. Filiz explains in her blog post how it works. In any case: When you’re done – whether as a pure artwork, or as a lamp – seal your work with transparent paint. Because the colours can super easily dissolve and need protection against moisture and dust.
Here are some branch drawings for you to use for private purposes. You can practice with them or trace them to colour yours directly.[/vc_column_text][/vc_tta_section][/vc_tta_tabs][/vc_column][/vc_row][vc_row][vc_column][vc_gallery interval=“0″ images=“1093,1094,1095″][/vc_column][/vc_row][vc_row][vc_column][vc_column_text]Ich hoffe dir hat mein Tutorial gefallen. Das gemeinsame Ergebnis mit Filiz hat meine Erwartungen übertroffen – ich bin so zufrieden damit! Wenn du es nachmalst, abwandelst und nachbastelst: Tagge mich gerne in deinen Fotos und/oder nutze #krigelkragel oder #krigelkrageldiy damit wir alle mal gucken können. Und besuche mich gerne mal auf Instagram!
Bis nächste Woche – deine Desiree[/vc_column_text][/vc_column][/vc_row][vc_row][vc_column][vc_tta_tabs][vc_tta_section title=“english translation“ tab_id=“1532472474055-d8aa0349-8066″][/vc_tta_section][vc_tta_section title=“click here“ tab_id=“1532472474092-00df4c62-e3af“][vc_column_text]I hope you liked my tutorial. The joint result with Filiz exceeded my expectations – I am so satisfied with it! If you re-paint, modify, and craft it yourself: Tag me in your photos and/or use #krigelkragel or #krigelkrageldiy so that we can all have a look.
See you next week – your Desiree[/vc_column_text][/vc_tta_section][/vc_tta_tabs][/vc_column][/vc_row][vc_row][vc_column][/vc_column][/vc_row]

