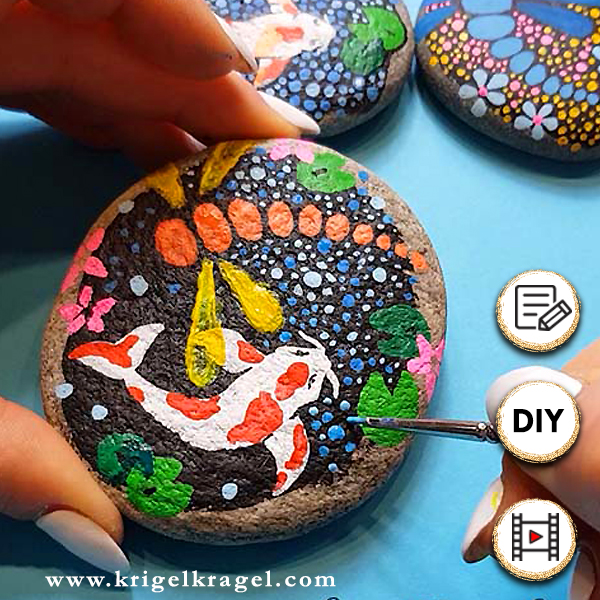
DIY Dekoidee: Steine bemalen die im Dunkeln leuchten!
15. März 2018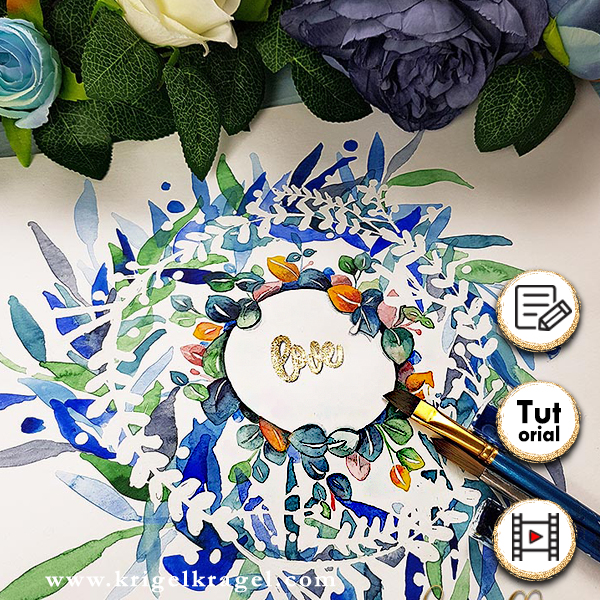
DIY Malen lernen: Aquarell Tutorial mit Rubbelkrepp und Malanleitung
19. Juni 2018DIY Kawaii malen. Plus Pflanzen Aquarell das leuchtet!
[shariff] cute 3D Kawaii with a luminous plant aquarelle!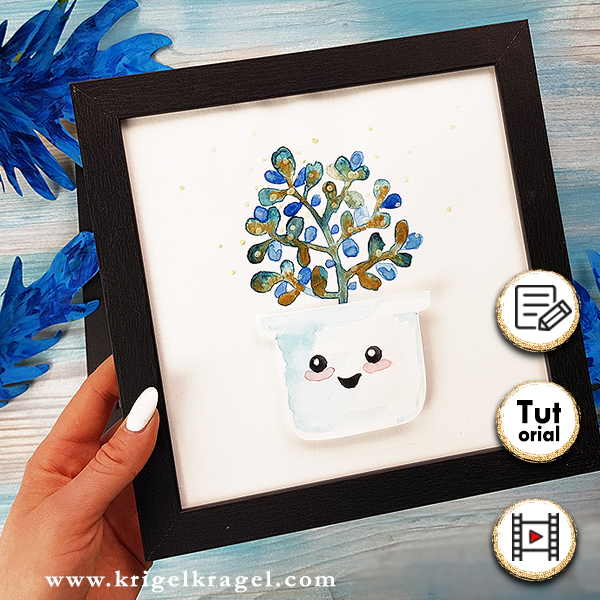
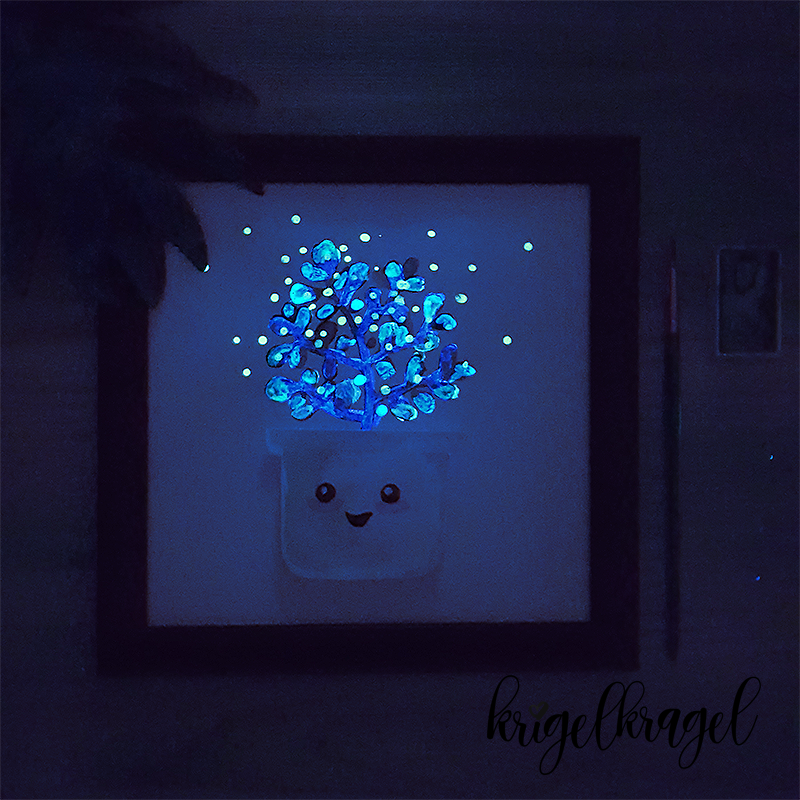
Im ersten VideoTeil auf Youtube zeige ich euch wie ich dieses süße 3D Pflanzen-Aquarell im Kawaii-Look gemalt habe. Das Artwork besteht nicht nur aus Aquarell, sondern auch aus Perlmutt-Aquarell und nachtleuchtenden Farben!
Die beiden anderen Kawaiis mit zusätzlichem Lettering erkläre ich euch im Mai!
In the first part of the video on Youtube I‘m going to show you how I painted this cute 3D plant aquarelle with a Kawaii look. The artwork consists not only of aquarelle, but also of mother-of-pearl aquarelle and night luminous colours!
I‘m going to explain to you the other two Kawaiis with additional lettering in may.
https://youtu.be/kEOFTyrY1MQ
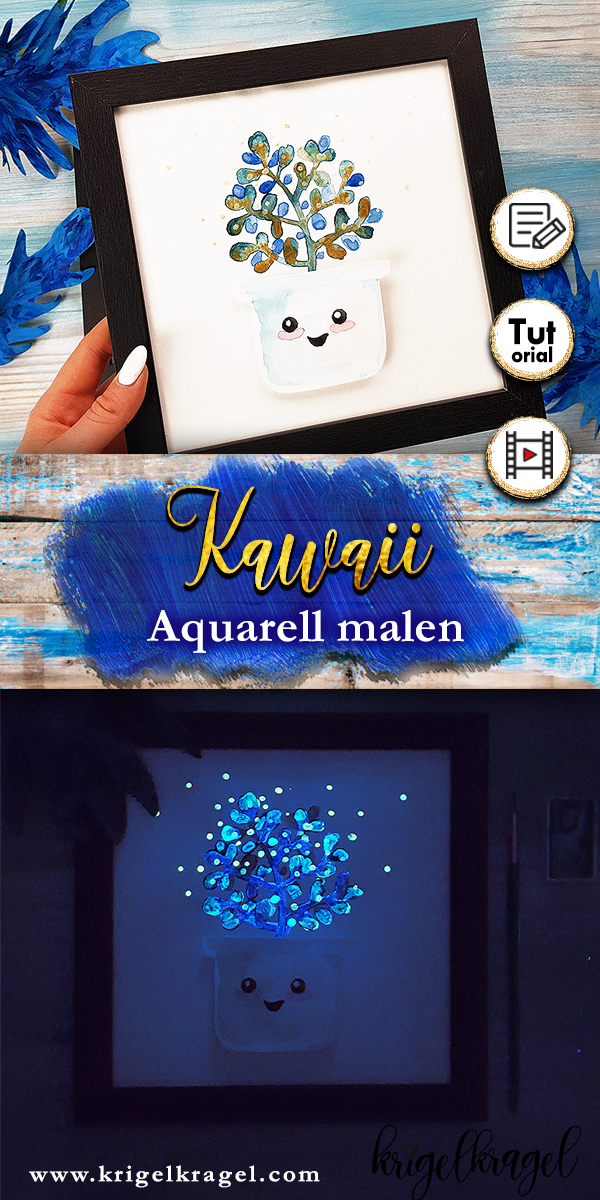
DIY 3D Kawaii aus Aquarell und Leuchtfarben
DIY 3D Kawaii made of aquarelle and luminous colours
Vorbereitung:
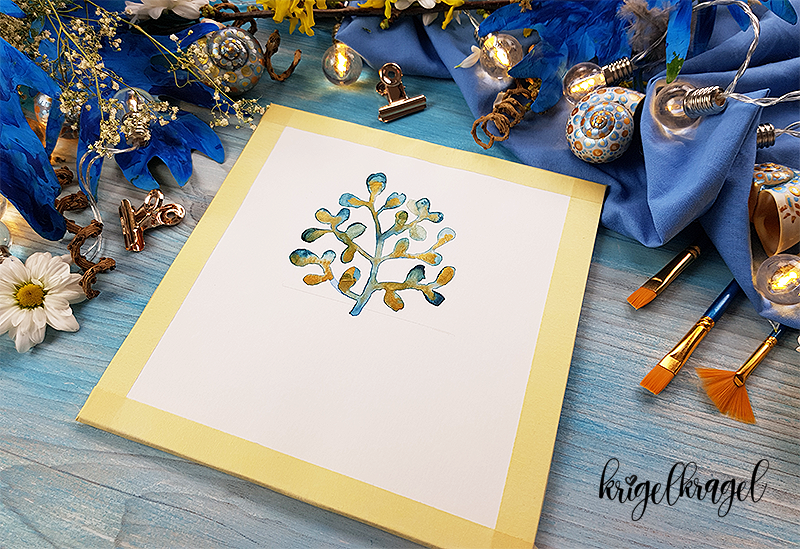
1. Zu erst legst du das Format für dein Artwork fest. Also auf welche Blattgröße du malen willst.
2. Wenn du schon einen Rahmen hast kannst du dein Papier auf die Rückwand zuschneiden und es gleich dort mit Kreppband fixieren, damit es sich nicht durch das Aquarell verzieht oder Wellen schlägt. Das ist wichtig um später eine flache Klebefläche für den Kawaii-Blumentopf zu haben.
3. Messe nun Pi-mal-Daumen ab wie groß du den Topf haben möchtest und schneide jetzt schon die Blumentopfform aus einem zweiten Stückpapier aus.
4. Nun markiere die oberste Linie der Position des Blumentopfes auf deinem Hintergrundpapier. Die Blumentopfform kannst du nun für später zur Seite legen.
Preparations:
1. First choose the format of your artwork, on which size of paper you want to paint.
2. If you already have a frame, you can cut your paper on the backside and fixate it with crepe tape, so it won‘t distort from the aquarelle or get wavy. It‘s important to keep a plain adhesive surface for the Kawaii flower pot.
3. Measure roughly which size you want the pot to be and cut the pot form from a second sheet of paper.
4. Now mark the top line of the position from the pot on your backround paper. Keep the flower pot form on the side until later.
Malerei:
5. Das schöne bei groben Aquarell ist: es muss nicht perfekt sein. Es reicht völlig eine grobe Form der Pflanzen anzulegen und das Wasser und die Farben machen den Rest. Daher ist die Technik derzeit auch so beliebt. Zu Recht!
6. Mal einfach drauflos so wie ich, oder nimm dir eine Vorlage.
7. Ich spüle als besonderen Effekt noch metallic-perlmutt Aquarellfarben in die noch nasse Farbform.
8. Trocknen lassen
9. Darüber setze ich die Lasur aus meiner Leuchtfarbe. In diesem Video(Link) habe ich gezeigt wie ich meine Leuchtfarben anrühre. Ich werde mich diesem Thema in einem kommenden Blogbeitrag nochmal ganz genau widmen.
10. Als besonderen Effekt tupfe ich mit der Leuchtfarbe noch kleine Punkte um die Pflanze herum. Das bringt nachts einen ganz zauberhaften Effekt.
11. Trocknen lassen.
Painting:
5. The beautiful thing with a rough aquarelle is: It doesn‘t have to be perfect. It‘s absolutely sufficient to create a rough shape of the plants. The water and the colours will take care of the rest. That‘s why this technique is so popular at the moment. And rightly so!
6. Just start painting as did I or use a template.
7. I‘m putting as a special effect also metallic mother-of-pearls aquarelle colours into the still wet colour form.
8. Let it dry
9. On top of that I‘m putting the glaze from my luminous colours. In this video (link) I‘ve already shown you how to blend the luminous colours. And I‘m going to dedicate an upcoming blog post entirely to this subject.
10. As a special effect I‘m dabbing little spots around the plant. That creates a wonderful effect at night.
11. Let it dry.
Kawaii:
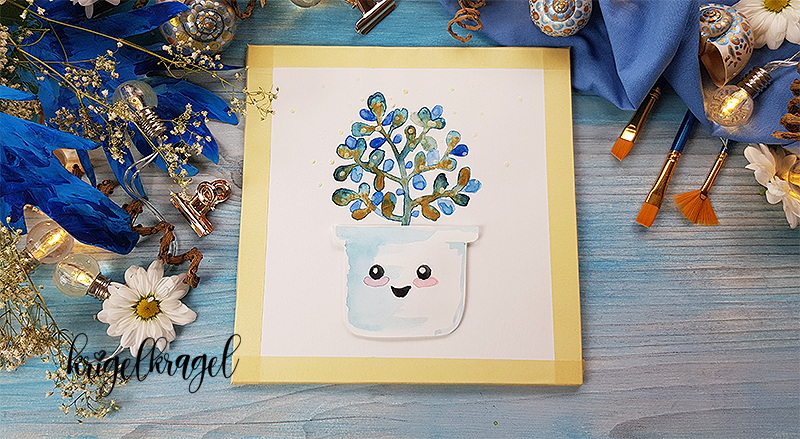
12. Lege das Artwork zur Seite und bemale mit Aquarellfarbe den Blumentopf mit einer leichten Schattierung.
13. Mit schwarzer Aquarellfarbe lege ich auch das Gesicht des Kawaiis an. Die Bäckchen bestehen aus roter, stark verdünnter Aquarellfarbe, wodurch sich Rosa abbildet.
14. Die weißen Lichtpunkte in den Augen kannst du mit Acrylfarbe oder weißem Lackstift setzen.
15. Gut trocknen lassen - das Motiv muss gleich herumgedreht werden und darf dabei nicht verschmieren.
16. Schneide ein Stück Karton aus und klebe es auf die Rückseite des Blumentopfes und diesen wiederum auf das Papier mir deinem Pflanzen-Auarell. Genau dort wo du zuvor die obere Linie markiert hast. Mit Flüssigkleber lässt sich die Position gut zurechtrücken.
Kawaii:
12. Put the artwork on the side and paint the flower pot with a little shading using the aquarelle colours.
13. With black aquarelle paint I‘m laying out the face of the Kawaii. The cheeks consist of red, highly diluted aquarelle colour, which culminates in pink.
14. You can create the white lightning spots in the eyes with acrylic or a white lacquer pen.
15. Let it dry out – the motive has to be turned immediately and mustn‘t smear.
16. Cut out a piece of cardboard and glue it to the backside of the pot and glue this to the paper with the plant aquarelle, exactly where you marked the top line. With liquid adhesives you can adjust the position very well.
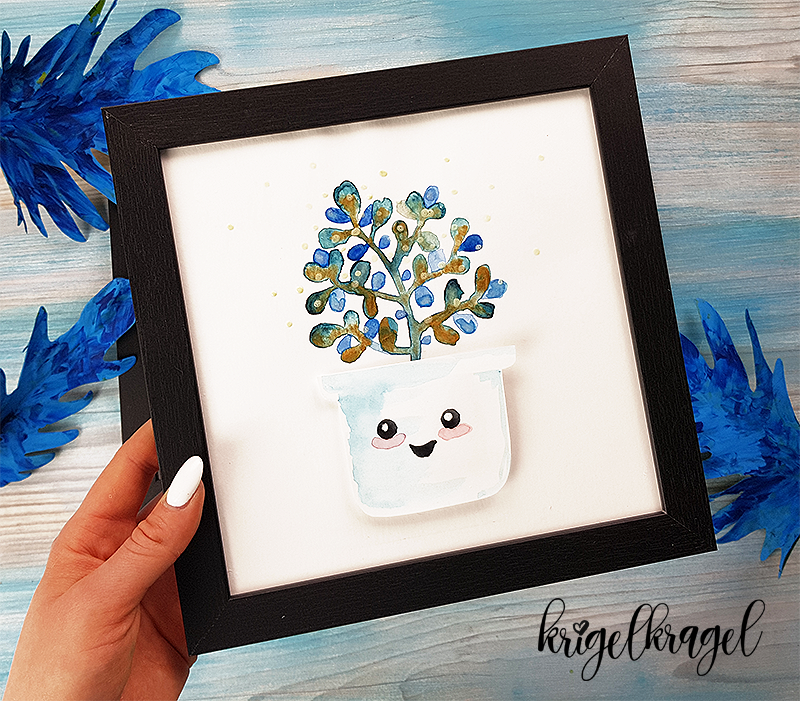
Rahmen drum (ohne Glas), aufhängen, fertig.
Das ist mein derzeitiger absoluter Mal-Favorit! Dieses Artwork verbindet alle momentan beliebten Techniken und das Ergebnis ist absolut Kawaii! Denn Kawaii ist der japanische Ausdruck für „niedlich“, “süß“, „putzig“. Trifft es total!
Wie findest du meinen Beitrag? Wenn du ein ähnliches Motiv zum Malen suchst, kannst du lernen wie man mit Aquarell Wichtel malt. Schreib mir gerne in den Kommentaren auf Youtube, Instagram und Twitter. Wenn du mein DIY nachbastelst und malst – vertagge mich und nutze den Hashtag #krigelkragelDIY , damit ich mir dein Werk ansehen kann und wir eine starke Community aufbauen.
Ich freue mich auf nächste Woche mit euch – eure Desiree Ann
Kawaii:
12. Put the artwork on the side and paint the flower pot with a little shading using the aquarelle colours.
13. With black aquarelle paint I‘m laying out the face of the Kawaii. The cheeks consist of red, highly diluted aquarelle colour, which culminates in pink.
14. You can create the white lightning spots in the eyes with acrylic or a white lacquer pen.
15. Let it dry out – the motive has to be turned immediately and mustn‘t smear.
16. Cut out a piece of cardboard and glue it to the backside of the pot and glue this to the paper with the plant aquarelle, exactly where you marked the top line. With liquid adhesives you can adjust the position very well.
